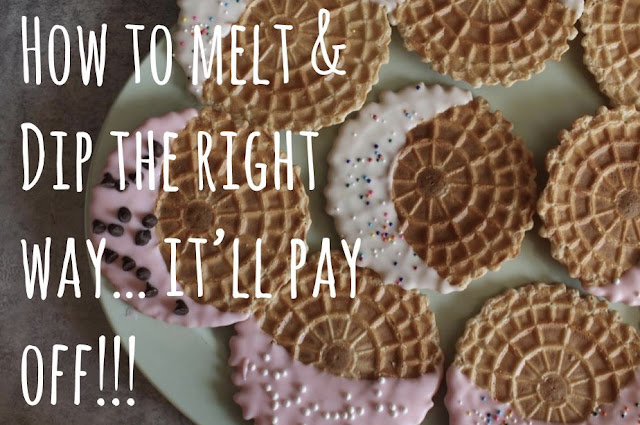
Dip Cookies the Easy Way
Guys, you are not a scaredy-cat if you're scared.
First off, let me tell you the first thing I did was a mistake. I put the hard melting candy (what DO you call it anyways???) in the microwave for way to long and forgot about. After my nose received the glorious gift of burnt sugar, I rushed over just to realize that my candy was brown and burnt. No, I did not freak out. Good job Abi!!!
I got admonished and my mom quickly told to do it only 30 seconds at a time. I never like to believe that because it took so long on our old microwave. Until we got a new over-the range baby that just cooks your food real darn quick.
So first off, only melt it 30 seconds at a time, and stir in between!!!
Here's what you'll need:
- Melting chips
- Cookies
- Microwave-safe bowls
- Sprinkles or cute food decor
- A RACK this will be VERY important later!!!
Step 1:
Melt. Pop in the micro for 30 seconds at a time, stirring in between. This is how it should look:
If you want to color it, you can do that at this point. Remember, start with a little and stir, then add more. You don't want hot pink when it is for a baby girl's shower.
I forgot to say, you can add extracts, as long as it agrees with the cookie flavor.
Step 2:
Time to dip! Now don't be scared. You can do this, it just take practice. Make sure you have gobs of paper towels on hand, and that all your ingredients are within reach, or you'll regret it. I had quite some trouble trying to dive for the paper towel roll while holding a scarily fragile cookie bearing an enormous weight of dripping, pink melted candy. You can sprinkle with sugars, mini chocolate chips, and sprinkles!
At this point, I made a HUGE mistake. I just plopped these staight onto a plate thought I was just on a roll with the cookies. WRONG!!! As I said before, they were fragile, and I had forgotten that the candy likes to cement itself the plate (being it's last day before it enters the cavernous mouth). When we tried to take them off, everything just cracked into a big mess. I was so sad I almost cried. My other cookies were made of a more durable substance, and I used a rack so they were fine. But, I still think that the other ones would have broken even on a rack. Any suggestions? Please comment!
Step 3:
Let harden and restrain yourself from devouring the whole bunch on the spot!
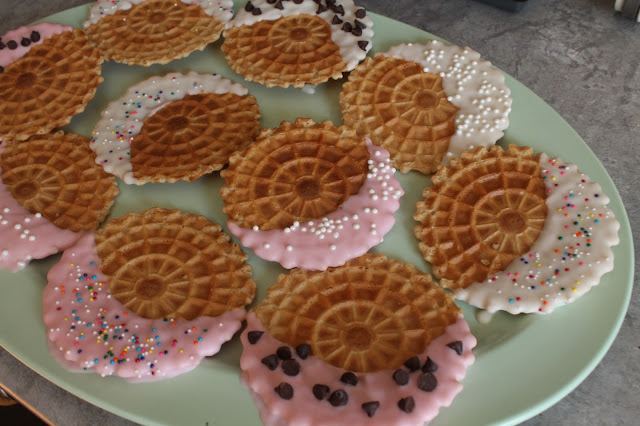
Here were my other ones:
These are the few I didn't ruin when trying to do a design:
Now you're all set to do this project yourself!


What a lovely post! So many great pics and such encouraging words! The pics really tell the story! This is just remarkable <3
ReplyDeleteThanks, I'm going to do it more often but some projects need both hands so then i can't take step-by-step pictures. You're an encouragement yourself!
ReplyDelete