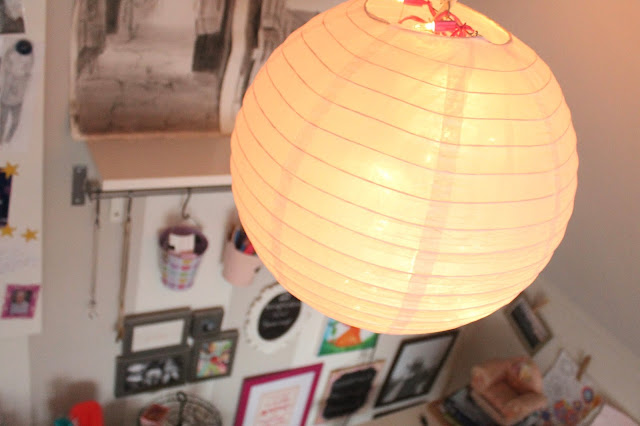
Pendant Lamp DIY
Would you like to be able to boast that you made a lamp in your house? Well, if you do, then this is the DIY for you! Not to mention that you it's modern, personalized, and can be a fun group activity.
WARNING: READ THE WHOLE THING BEFORE YOU TRY IT.
Like my fake warning sign?
Just getting your attention.
Let's get started!
Supplies
Basically all you need is a paper lantern, string lights, an extension cord and a few other random things to hang it up (I'll mention these later). Now, since amazon links are AWESOME, I'm going to give you some. That means I've done all the research for you!
- For this project, you can use a plain white lantern and decorate it, or you can choose whatever color you'd like. Here are some white ones and colored ones. You can get different sizes but to make one that is more like a lamp, I'd suggest at least 12 inches.
- Again, you can get colored lights if you want, but I'd suggest just white lights. The more light you want, the more you stuff into the ball. That's just a 50 pack, but get as much as you can fit.
- The last thing is an extension cord which you need to measure for. Chose the place where you're going to hang the lantern, and then measure to the nearest outlet. This is a 15 foot but it's whatever you actually need. You might also want a color the blends into the wall.
- Other than that, get small nails (or screws, you'll see why later), a hammer, thick string the color of your wall, and whatever else you need to install this DIY because everyone's house is different.
Gather all of this into the room you're doing it and let's get on with the project!
The first thing to do is stuff all the lights inside and pull the end that plugs into the wall out of the top.
Measure how low you want your lantern to hang from the ceiling, and then cut your string twice that length plus an inch or two for the knots.
Check out the weird bubble paint guys!
Adds quite the touch to my room.
Anyways, if you have straight walls, you might need to think of another option in the nailing situation. You can get a roofing nail that has a really big head, and nail it straight up into a stud; that way, the string doesn't just slip off the end and onto the floor. Another option is to screw into a stud (again, make sure the head is big enough to hold the string), or use a butterfly.
So figure out what you doing about that, but keep in mind that this lamp is light and doesn't need any heavy duty industrial thing. Just keep it simple.
Grab your pre-cut string, loop it under the metal rod going the diameter of the top whole, and tie it onto the nail, screw, or whatever.
This part is tricky.
You have to attach the extension cord to the end of the string lights, then bring it up alongside the sting holding the lantern. Now is the part that's up to you because every room is different. The extension cord has to reach the nearest outlet without being obvious! Don't actually nail into the extension cord, because that would be really bad. BUT, you can nail them really close to a corner, and then wedge it in between the wall and the nail; this is what I did.
You have to attach the extension cord to the end of the string lights, then bring it up alongside the sting holding the lantern. Now is the part that's up to you because every room is different. The extension cord has to reach the nearest outlet without being obvious! Don't actually nail into the extension cord, because that would be really bad. BUT, you can nail them really close to a corner, and then wedge it in between the wall and the nail; this is what I did.


That is darling!
ReplyDelete