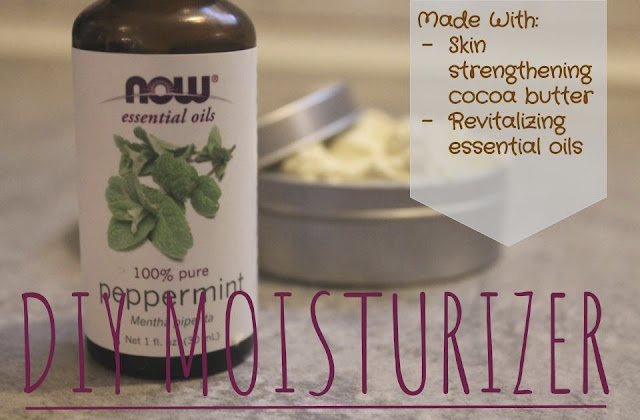
Cocoa Butter Moisturizer DIY
I've made a lotion tutorial before, which you can see here, but honestly, it wasn't really lotion! It was more of whipped butter. I guess a lot of the lotion DIY's out there were more of that texture though, so it wasn't like I was misguiding anybody.
This time, I tried a butter.
With skin butters, the whole idea is that you whip oils already called butters (shea, mango, etc.) with a non-solid oil like almond, olive, or avocado. However, depending on the amounts and ingredients, you'll get different textures.
The one that I made is more solid because cocoa butter is so hard. Actually, a good improvement to the recipe would be to add twice the amount of almond oil.
However, as soon as it hits the skin, this body butter goes on smoother ever. It feels so amazing you can't even believe it's real!
Let's get on with it!
Whipped Body Butter
1 c. Shea butter
1/2 c. Cocoa butter
4 T Almond oil
4 T Coconut oil
30 Drops essential oil
- Gather all ingredients and tools.
- Melt shea butter and cocoa butter 30 seconds at a time in the microwave, stirring or swishing in between.
- Pour into a metal or glass bowl and stir almond and coconut oil until throughly melted in. Add essential oils and mix well.
- Stick in the freezer for 20 minutes, give and take, until firm. Whip with an electric beater until desired fluffiness is obtained. Scoop into containers.
It. Must. Be. Whipped.
Once you think it's whipped enough, whip it more. You want it to be like smoother than smooth! Mine looked like this when I was finished:
Then, take pots like this and carefully scoop in. If you're planning on any labeling or decorating, do it first or you'll be stuck with drawing on oily containers. Not good. In fact, I learned it the hard way! Sure it stayed on at first, but even permanent marker will smear off when applied to coconut oil.
I love permanent marker labels! So simple, unique, and flexible. No printing stuff on weird paper and following some complicated Martha Stewart method.
Just grab, and draw!
Take note that you have to lightly press down on the butter when inserting it into containers to efficiently use the space. Not too much though or it won't be fluffy! After a few hours it becomes much more solid, so you might have to rub it into your hands before you apply it. Despite that, I promise you that it will do miracles for your skin!
Cocoa butter is amazing because it literally tightens and softens your skin. I was amazed after a few applications how great my skin felt! + exfoliating and you got some perfect skin. There is also a remedy for natural color correction that I want to try.
Frankincense oil.
I am so desperately wanting to get some and find out if it really clears 70% of splotches and scarring. Doesn't it just sound like some old wives tale or infomercial? Anyway, I made an entire post about it if you want to know more here. So, add some of this and you got the ideal skin moisturizer!
The trick to it is that it improves collagen retention and reproduction, while leaving the skin cells thoroughly hydrated. Therefore, it also helps with scarring. That's why cocoa butter + frankincense essential oil is ideal for splotchy skin.
I myself can really benefit from this, having eczema scarring on my legs and arms. It's just the worst place especially in summer because people see it all the time! Even then, it looks kind of strange instead of obvious like what you get from acne, because it just leaves you splotchy and discolored.
Yuck!
I did use peppermint this time though, because the butter is for my siblings, not me. Multiple of them have sinus issues so it is THE BEST, not including eucalyptus that we don't use because it smells like medicine. They also love the scent and I thought it would mix perfectly with the chocolate smell of cocoa butter. However, we use lotion up a mile a minute being a dry skin family and just coming out of Winter and swimming lessons so I'll have more chances.
When talking about cost, I'd say that using coconut oil and shea butter is the cheapest for moisturizers. But, to get a more favorable smell and texture, adding a more tropic ingredient like mango or cocoa butter, interesting carrier oils like avocado, or something special that treats a certain ailment is a good idea.
Hope you guys enjoy! Any advice, questions, or I've-done-this-before's would be great, just make a comment :-)


More beauty products! No wonder you're so beautiful! xoxox
ReplyDeleteAwww thank you I'm trying to go all-natural.
ReplyDelete