All-Natural Lotion Tutorial
I had so much fun doing this!!!
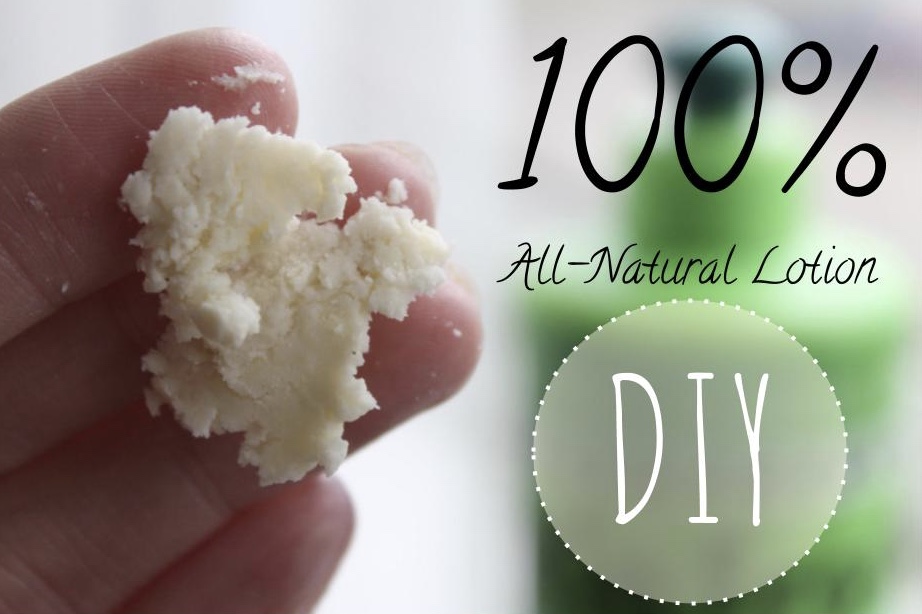
It was a huge success among my siblings who are obsessed with good smelling and feeling lotions. They kept on putting gobs of it on and saying, "it smells like frosting!" Oh, and it did! I felt like I could practically eat it. It also looked a lot like my Grampa's famous mashed potatoes. Did I mention we were eating vegan for a month? And yea, you can't make his recipe without a few sticks of butter so our mouths were watering at the thought.


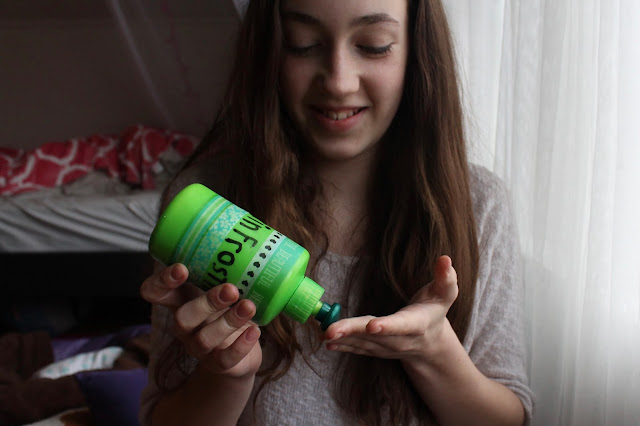
A you can see here, I myself was getting a little to addicted to the scent. But who doesn't want to walk around smelling like a peppermint candy?!? Excuse the messy hair and unmade bed in the background. But hey, who cares? Nobody's perfect and I DON'T want to be the flawless blogger girl out there!
There are only a few simple and basic ingredients. In fact, I use the same ingredients for most of my projects, give or take a few.
- Beeswax
- Aloe
- Coconut Oil
- Essential Oil (In my case, peppermint!)

I was going to have to make it with almond oil, which I knew would probably change the texture since it doesn't harden, but thankfully we found some while shopping at TJ Maxx. However, when buying it from this type of store were stuff has been on the shelf for a while, check the date!!! My mom later told me that sometimes oils can go bad from sitting so long. We had two years to go on ours.
Whew!
Make sure your aloe vera has nothing added and that it's 100% pure. Guess what ours said?
100% Gel.
Ripoff...
It was fine though because the ingredients added weren't harmful and didn't include any scents or dyes. Same with your coconut oil and beeswax. The essential oil just needs to be a trusted brand, and whatever quality you like. We got ours from Wal-Mart, YAY! I'm so glad they carry it. It's pretty awesome and works fine; we've been using theirs since the summer.
Oh, and about the mess it makes; more than my other recipes so far. It uses more dishes then melt-and-pour projects, but is way easier to use since it's soft. I've made and lotion bar, which is hard. It's pretty sweet too, but you have to soften it with your hands during the Winter; that's why I tried soft lotion. Check them out here. As usual, use all metal tools so you can boil them. It really helps in dissolving the oil and wax.

Those are my beautifully messy tools, all sitting to be washed.
Here comes My Big Mistake (You know I make one every time!:-P).
I wiped all all the dishes down with a paper towel, but not caring to get every detail. People always say coconut oil, and beeswax clog drains; I had the choice of washing them by hand, with access lotion going down the drain, or to throw it in the dishwasher, with access lotion going down the drain.
Why not choose the easier? Thinking that there was nothing to lose, I popped them in that dishwasher, and let it rip! Next morning during school, I here much clanging and water splashing. "What is this?" somebody exclaims.
After being throughly investigated by my dad he says "Abi's lotion!"
Ok, somebody's talking about me, I better go check it out.
Sure enough, pesky little lotion bits are clinging to some type of drain thing in the dishwasher. I agreed to hand wash everything that wasn't practically already clean from then on. I think it mostly came from the blender because as you can see in the picture above, there isn't much residue except coconut oil, which people sometimes cook with so shouldn't be much of an issue.
Just a little warning, you might want to hand wash most of your tools after the project. My dad also told me that the dishwasher is actually more sensitive than the sink drain. Despite all these cleaning issues, I still think it's worth it. So keep your eyes on the goal!:

It smelled and looked so amazing that I called it Skin Frosting because that's what everybody thought it smelled like. Here's my tutorial:

You'll need those tools plus a pot and whisk for the first step. Remember, all metal!!!
After being throughly investigated by my dad he says "Abi's lotion!"
Ok, somebody's talking about me, I better go check it out.
Sure enough, pesky little lotion bits are clinging to some type of drain thing in the dishwasher. I agreed to hand wash everything that wasn't practically already clean from then on. I think it mostly came from the blender because as you can see in the picture above, there isn't much residue except coconut oil, which people sometimes cook with so shouldn't be much of an issue.
Just a little warning, you might want to hand wash most of your tools after the project. My dad also told me that the dishwasher is actually more sensitive than the sink drain. Despite all these cleaning issues, I still think it's worth it. So keep your eyes on the goal!:

It smelled and looked so amazing that I called it Skin Frosting because that's what everybody thought it smelled like. Here's my tutorial:
Skin Frosting DIY:

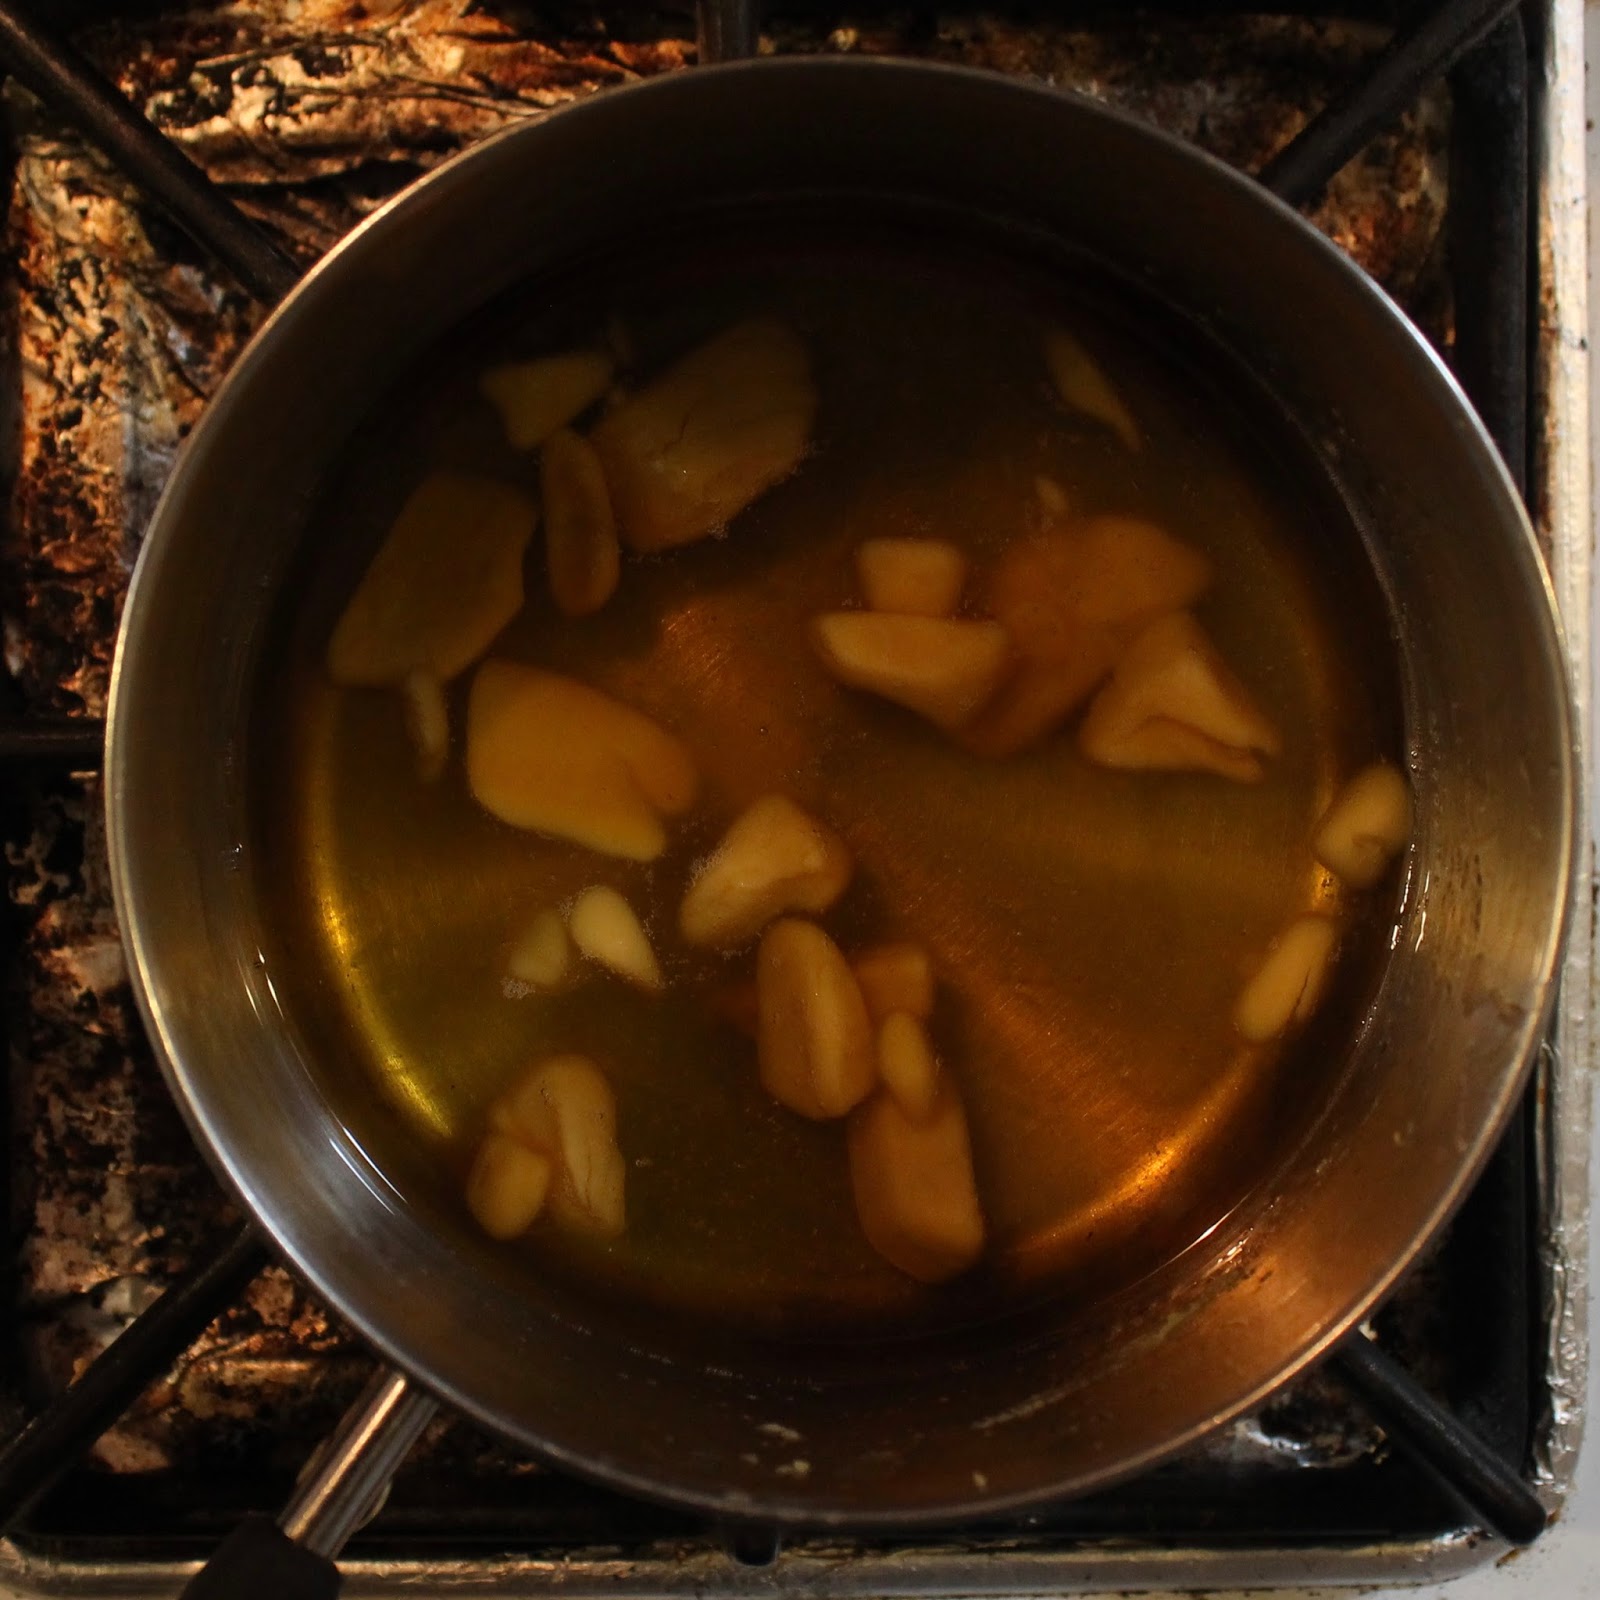
First off, you'll need to chop that beeswax because that takes the longest and you don't want burning coconut oil and solid wax. Sharpen your knife and run it under hot water before you begin. It really helps. Then, shave slivers about this big from the sides:

Pop 1/4 a cup of it in a small saucepan and let it melt on low. While you are waiting, measure out the coconut oil.

Most likely, the mouth of its jar won't be big enough for you to stick the whole measuring cup in, so use a METAL spoon to scoop it out. Add 1/2 a cup to the partly melted beeswax.

Doesn't our stove look just absolutely disgusting??? I realized it after it was too late so all the rest will look like this. Almost nobody has a perfect stove so whatever. Especially us, who has 3 cooks and one in training.
That = mess.
We wrap a foil around the removable metal plate under the grate, and punch a whole for the burner. Instant protection from countless soup spills, overflowing rice, and various sugar concoction splashes. But we haven't changed that foil in ages so our stove looks quite repulsive.
Just leave it alone to melt, and start stirring when it looks like this:
You can turn the fire off, or remove from heat when it looks like this:

Add precisely 1/8 a teaspoon of peppermint essential oil, and it will smell perfect. Beware of the overwhelming wave of clarifying mint in after you just add it. It's just hitting the heat, and won't be that strong the whole time. Stir more until there are no little chunkies.

I let mine cool a bit before adding the aloe, because I didn't want the aloe to act weird in such a hot concoction. Once you can touch the mixture for 1-2 seconds without it hitting your mouth, add 1/2 cup of aloe.

Now that is just plain gross-looking. Maybe some gelatinous form bacteria floating in a dehydrated person's pee? Oh wait, we're putting this on our skin, I can't gross anybody out.
At this point, I made another Big Mistake. I was supposed to double it, and I had forgotten. Thankfully I caught myself before I added aloe, so I wasn't in big trouble! Next I tried to stir it with a whisk in a pot that didn't allow any splash, which was a huge failure. So make sure to just dump the whole mixture into a large GLASS measuring cup. Whisk to your hearts content, until it looks like this:

Now take the whisk out quick and shake the lotion out, or else you'll have trouble later. I know from exeperience (How many mistakes did I make?).
My recipe said to let it cool for 2-4 hours, until it's room temperature. I didn't have that time so I stuck it in the fridge to half the time.
Good idea.
Later took it out and this was the consistency:

You can tell it was later because the picture's darker. I totally hadn't realized I'd have to wait so long until too late. My photography always look best when the sun's not down.
Blend it on high for 30 seconds to a minute. This will really improve the texture, and reincorporate the ingredients to insure smoothness.

Now you can put it into any container you like! During warm weather, feel free to put it into a squeeze bottle. I learned that when your house is constantly 65 degrees or lower, the lotion will refuse to come out. Thankfully, I can just stick my finger right in, but next time I'll do a pot unless it's summer. After a day or two, the lotion will change it's softness to the room temperature. This is only because of the coconut oil, which will melt at 75 degrees.
To get it into a 1-2 inch mouth, you have to spoon it into the top, and thump it down. I know it sounds totally weird, but it works. Let me know if you have any tips because mine is a total hassle! If that is just to complicated, get a pot like this and scrape it right in!
I just LOVE this stuff, and literally use it every day. It's perfect for a quick facial moisturizer, an all over body lotion, a pre-makeup application, or dry skin and eczema relief. You should totally try it because the application is so much easier than a hard lotion, and it feels so cooling and calming.


p.s. I used washi tape to decorate, but make sure to get all the oil off the container's outside or it WON'T STICK!!!


Comments
Post a Comment