Posts

Showing posts from February, 2017

Chevron Nails

Image
You can totally do this yourself, and actually its way easier than it looks! Too bad I didn't do step-by-step pictures... All you have to do is pick 3 colors, light, medium and dark that compliment each other. It helps to have nail art polish and at least one sparkle with a thin tip to cover the imperfections. All it does is basically make your lines look better than they are. Other than that, having nail stickers or cutting chevrons out of painter's tape are essential for actually making it the design possible! The picture is pretty self explainable, but just in case: Paint all the nails the medium or light color, then let dry as hard as it can get or else the sticker will pull it off. Choose two nails and use your stickers to guide your lines. Paint the rest of the nails with sparkle polish and let dry. Use the sparkle nail design pen to trace the chevron lines. Let dry and then use a smoothing top coat to give it a professional touch! I did another one that

Simple Cake Pops

Image
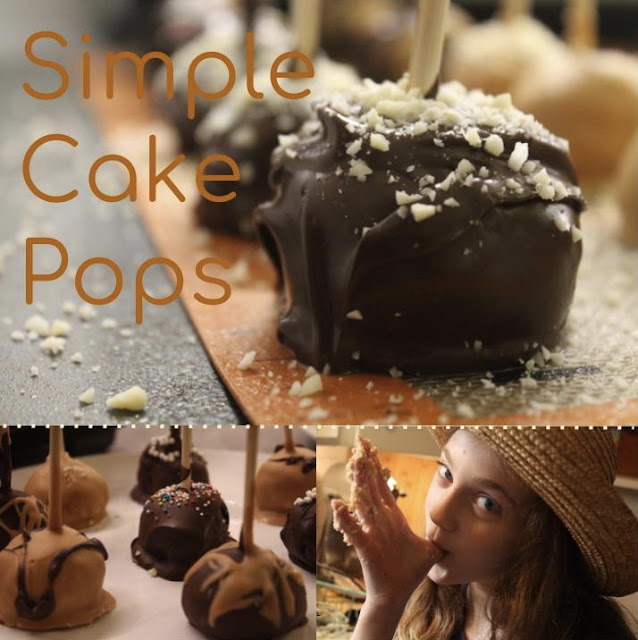
These are super trendy to make for parties, events and even just for fun. I was determined to try it just because it consisted of cake, frosting (I'm practically addicted to it...) and dipping!!! Anything with dipping tempts me horrifically, because I just love doing it. Therefore, I tried it. Twice. I just have to laugh at my first try; it was full of My Big Mistakes. That means the story is hilarious. The whole thing started off with me thinking I could do it by just watching a youtube video and substituting melting chips with chocolate chips. There is nothing wrong with that, except that regular chocolate isn't as easy to dip with because it's thicker. Then, I used milk to water it down because it was becoming kind of fudgy. Did I mention I didn't know what burnt chocolate looked like? Fudgy. Plus chocolate? Equals fail... Then we tried to dip unfrozen cake and chocolate mashed together in burnt chocolate mixed with milk. Why did I even think that was going

Healthy+Spiced Cookie Bites

Image
For people with digestive problems, constipation, or just plain like to eat healthy and feel good after you've supped, this is for you. For all other people, this is also for you. Nobody should miss out! I mean oats, whole  wheat flour, healthy sweeteners, prunes (oh, yum!), and all the ingredients easy to access (no fancy whole food stores to run to). That means sure success. Take note that these are pretty far from attractive, and aren't made to be as sweet as the average cookies. But hey, this isn't the average cookie, right? I'd say these fit more in the category of snacks, quick bites, portable breakfasts, etc. People who really don't have much of a sweet tooth would really love these too! This amazing recipe makes about 4 dozen, but depends on the size. I prefer a variety of odd measurements. I don't want a whopper every time, but, there are definite occasions when a tiny tea cookie won't suffice. The Recipe: 2 c Whole wheat flour 2 c Rol

MAKE it yourself Oreos

Image
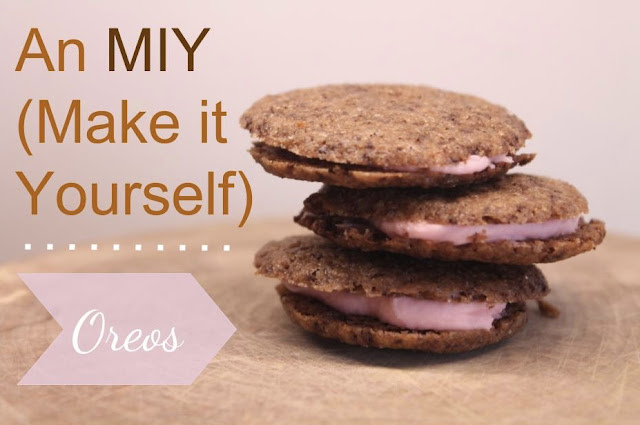
Lots of people do DIY's, which is basically doing something you don't have to do, yourself. Well, there is also this thing where people by pre-made foods, when they can make it themselves. So, that's what this is. Or was. Until, I made a substitution that I didn't know enough about! I basically found a recipe that had cocoa powder, only to realize when it was to late that we didn't have any. My solution was to use baking chocolate, which is pretty much a chocolate bar without sugar. Here came My Big Mistake. Forgetting that baking cocoa really contributes to the texture of the dough, I didn't alter the recipe in any way. What I should of done, was add maybe 1/2 to 1/4 a cup more of flour because the ratio of wet/melted to dry would be uneven in the oven therefore resulting in flattened cookies. This also is the reason why you add more butter and less flour to get crunchier, thinner chocolate chip cookies. If there is only one thing  you pay attention

Moisture Stick DIY

Image
This guy is a lot like those sunscreen sticks you see during sunburn season. My moisture stick goes on much smoother though, and has a different purpose. Nobody likes dry skin, especially when it comes in little patches on your hands or face. The whole reason I made this was by request of my dad. He has one, bright, red, patch of annoying eczema on his face in between his eyes and beard. Why couldn't it just hide itself somewhere under the legions of hair?!? Anyway, spur-of-the moment he asked me to make something for it that he could apply really easily and had all-natural ingredients. He isn't too happy about putting gobs of chemically scented and colored "moisturizers" mostly consisting of toxic unpronounceable poisons. Applying something too fragranced wasn't an option either because it was right next to his eyeball and extremely sensitive and picky nose. No essential oils in this one, uh-uh! With all those requirements in mind, and past knowledge

All-Natural Lotion Tutorial

Image
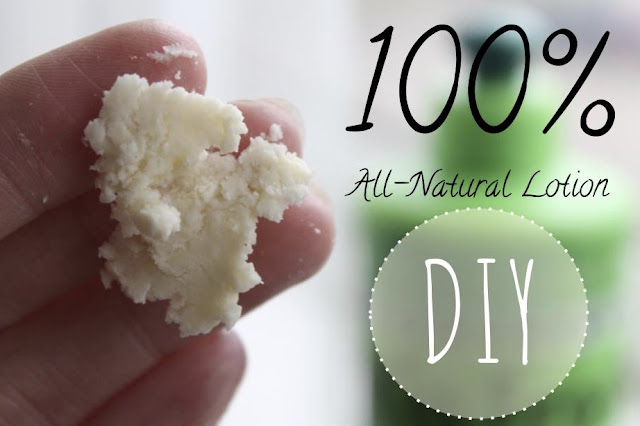
I had so much fun doing this!!! It was a huge success among my siblings who are obsessed with good smelling and feeling lotions. They kept on putting gobs of it on and saying, "it smells like frosting!" Oh, and it did! I felt like I could practically eat it. It also looked a lot like my Grampa's famous mashed potatoes. Did I mention we were eating vegan for a month? And yea, you can't make his recipe without a few sticks of butter so our mouths were watering at the thought. A you can see here, I myself was getting a little to addicted to the scent. But who doesn't want to walk  around smelling like a peppermint candy?!? Excuse the messy hair and unmade bed in the background. But hey, who cares? Nobody's perfect and I DON'T want to be the flawless blogger girl out there! There are only a few simple and basic ingredients. In fact, I use the same ingredients for most of my projects, give or take a few. Beeswax Aloe Coconut Oil Essential Oil