Moisture Stick DIY

This guy is a lot like those sunscreen sticks you see during sunburn season. My moisture stick goes on much smoother though, and has a different purpose.
Nobody likes dry skin, especially when it comes in little patches on your hands or face. The whole reason I made this was by request of my dad. He has one, bright, red, patch of annoying eczema on his face in between his eyes and beard.
Why couldn't it just hide itself somewhere under the legions of hair?!?
Anyway, spur-of-the moment he asked me to make something for it that he could apply really easily and had all-natural ingredients. He isn't too happy about putting gobs of chemically scented and colored "moisturizers" mostly consisting of toxic unpronounceable poisons.
Applying something too fragranced wasn't an option either because it was right next to his eyeball and extremely sensitive and picky nose.
No essential oils in this one, uh-uh!
With all those requirements in mind, and past knowledge that has been slowly building up from many projects, I invented my own recipe for the first time!!! It was not going to become a blog post if it didn't come out, or was kind of weirdly textured. One day a few years ago I decide to take my favorite lotions and perfumes, and just beat it altogether. What could I lose? They were the best I knew of, and mixed together should result in win-win.
Nope.
Came out oily, partially separated after a while, and was way too greasy. Besides the fact that it didn't have a smell that got ooh's and ahh's. We had it in a plastic container in the back of our bathroom closet for a while, but before long it "mysteriously" disappeared aka. thrown in the garbage and the container reclaimed.
That was way long ago, before I had done any research whatsoever, and had no experience at all in making any of my own beauty products. I really didn't want this post to be one of those sketchy, badly photographed, nasty-looking, non-functioning product recipes that people just throw up on to the web for no good reason.
This is my recipe, that actually works, approved by its customer (dad) and based off of similar recipes to ensure its success. So enjoy!!!
Here it is in a nutshell:

- Beeswax
- Shea butter
- Almond oil
- 100% aloe
Even though I couldn't use any essential oils, I'd would suggest also using lavender oil because its known to really improve damaged skin cells. Read more about it in my post regarding lavender oil to see why! Another bonus is it's heavenly smell...


Once its all nicely melted, let it cool a bit and add the aloe. I warn you, it will look pretty repulsive, but just block it and move on! Notice how I used an old food jar? You can still see part of the label! Hehehe...

Immediately after depositing the unrecognizable gelatinous form into your melted oil and wax, start beating the heck out of it. You'll have to do these next steps fast, or the mixture will start hardening, and microwaving aloe doesn't seem like the best idea to me.

Once it's smooth and blended, its time to start pouring. I used chapstick containers that I had already bought for my homemade chapstick post because it came in a huge pack. You can buy them here, and a need-to-know is that it only makes about 1-2. So the trick is, use a funnel the exact size of your chapstick container mouth, and overfill it just enough for the surface tension to form a slight bubble over the top.
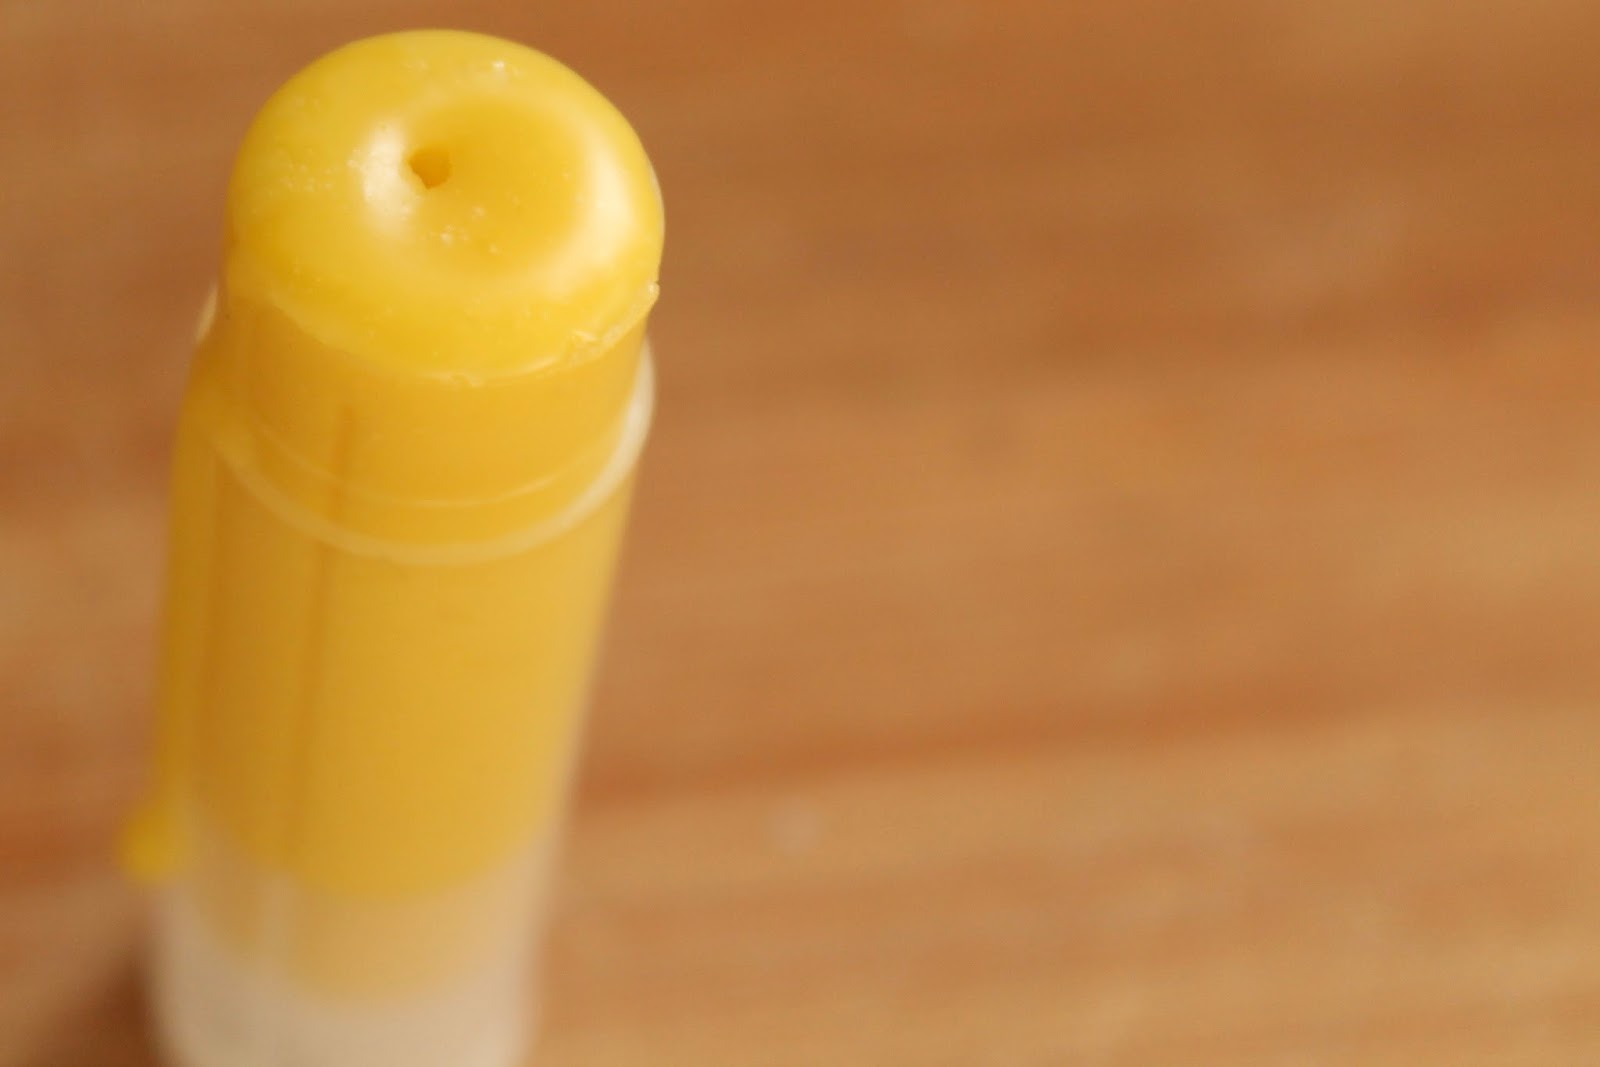
If you don't, it'll cave in and take a few uses to smooth over. Use my method to look professional! Carefully set it in the fridge after it sits for a few minutes to harden over a mite on the top. There's mine next to the week-old quinoa that mildly resembles pebbles in dimensions close to over-sized sand.
Or maybe even the chicken's grub.

After it's hardened to the bone (where even is the bone?!? Oh, that plastic thing in the middle.) you can apply it to all those thirsty patches of moistureless skin! You might want to wipe off any spills along the sides too...

Have fun my friends!


That looks nice Abigail. Good work! "under the legions of hair" hahaha! See you soon! xo Mimi
ReplyDeleteIt was unscented, you would probably have liked it!
ReplyDeleteLove the pics!!!
ReplyDeleteWow, that's a huge complement!
ReplyDelete