Simple Cake Pops

These are super trendy to make for parties, events and even just for fun. I was determined to try it just because it consisted of cake, frosting (I'm practically addicted to it...) and dipping!!! Anything with dipping tempts me horrifically, because I just love doing it.
Therefore, I tried it. Twice.
I just have to laugh at my first try; it was full of My Big Mistakes. That means the story is hilarious. The whole thing started off with me thinking I could do it by just watching a youtube video and substituting melting chips with chocolate chips. There is nothing wrong with that, except that regular chocolate isn't as easy to dip with because it's thicker. Then, I used milk to water it down because it was becoming kind of fudgy. Did I mention I didn't know what burnt chocolate looked like?
Fudgy.
Plus chocolate? Equals fail...
Then we tried to dip unfrozen cake and chocolate mashed together in burnt chocolate mixed with milk. Why did I even think that was going to harden? I mean, the science isn't even logical!
As you can see, without me even having to explain, I had major failure going on there.
However, I'm not the giving up type. One and a half years later, when it's still trending, I try it again! Didn't it just come out so good???

Except this one, which would have been one of the best on my first batch:

Anyway, I want to help you get your first batch looking like my second one. It's actually possible for them to come out good, I didn't use photoshop.

Cake Pops: It's that Simple
What you'll need:
A baked 13x9" cake
16 oz of frosting
Melting chips
2 T shortening or
coconut oil per 12 oz of chips
Optional: Chopped nuts, sprinkles,
and other toppings
Skewers
With the cake, it can be any cake, you can color it to fit a theme, or use your favorite flavor. It just has to be a basic one, not like pound or angel. I made my own frosting, but store-bought can be good too because it's thick. I did make the mistake making mine from scratch too thin. The balls will be manageable, but not as easy to form. I just put "melting chips," because you can use white, dark, or milk chocolate. That's not including all the barks you can find. So, that ingredient is pretty flexible, but the idea is that it must harden into a solid coating. The skewers need their point chopped off, and then to be cut in two. They also sell special cake pop sticks, but I didn't want to make any special trips to craft stores.
The first thing you do is crumble the cake up until it looks like this:

We did pink cake with blue frosting so that we could have two-colored cake pops. I didn't work so well though, because my frosting was not thick enough so it just absorbed into the cake, which I accidentally made too moist. It all came out well in the end though, because you store the pops frozen. That way it wasn't like this nasty mush ball coated in a chocolate bar.
See, if I were you, I'd make sure you had more of a solid frosting... (I hope you get the point now after me saying this so many times!)

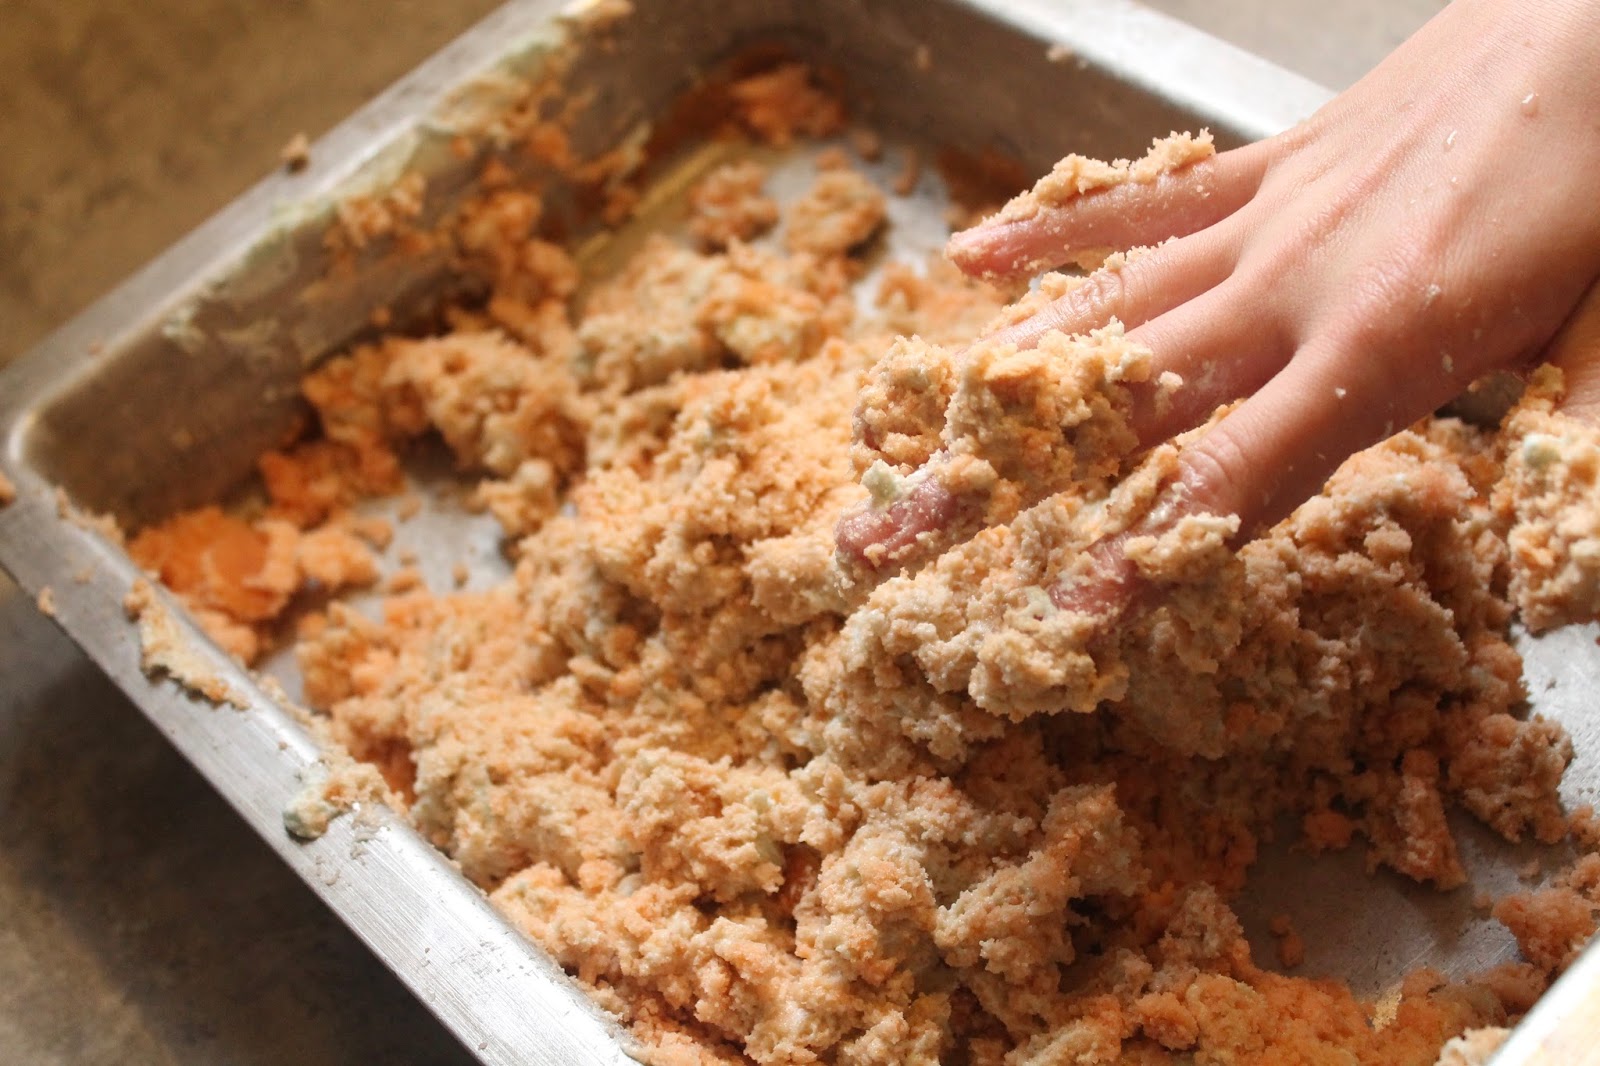
Now you add the frosting slowly, as to not add too much. Mash it together with your hands. Yea, it's really disgusting, I asked my friend to do it! Once you can form a pasty ball with it, stop.
Roll 2 inch ball and gently set them on a plate. Stick the skewers straight in the middle. Some of mine ended up a little crooked, but hey, nobody's perfect!

Once you've got them all formed, pop the plates in the freezer and wait till they are mostly frozen, 1-2 hours. Then you're all good :)

Yup, your hands will be that messy.

Meanwhile, clean up the disaster you've made by grabbing things with frosting and cake covered hands, dropping it on the floor, leaving traces around your mouth, and using too many tasting spoons.
You should also melt the chocolate while the pops are in the freezer, but not right away or I'll harden before you can use it. When you do it, microwave for only 30 seconds at a time and make sure you put that oil in! It has to be an oil that hardens in room temperature. You don't want a gloopy coating!
Pull the hardened pops out and dip them in the coating, holding it for a few seconds above the container it's in so that you don't get a puddle around the bottom.
A very important tip: You will not be able to pull the cake pops off of the pan if it's not greased, covered with wax paper, or some type of silicone baking mat. I also greased it, which really helped. Once they are solid, you don't have to worry about this.

You can have a lot of fun with the toppings, and if you have two colors of chips, you can drizzle one over the other! We had some pearls, sprinkles and my friend skillfully chopped almonds into the perfect size to scatter cake pops with. Once you're at the end of the melted chips, you can literally scrape it all together and pour it over the cake pop. Don't try to pipe the pop along the side of whatever container it's in. Trust me, that how my deformed cake pop got ruined.

When they are all done, pop them into the freezer again, but this time not very long because they harden pretty quick. You will need to store them in the freezer or fridge so they don't get goopy. The combination of ingredients that they are made with taste much better cold.


Happy cake pop baking! They really can come out fine on your first try if you have good enough instructions. Hope you try it yourself...


Comments
Post a Comment