Cookie Dough Bites aka Simple Truffles

 I couldn't stop eating these.
I was like, woa, these weren't supposed to be this good?! I mean, it's only eggless baking powderless cookie dough dipped in chocolate or cocoa powder!!! The recipe is so simple I've accidentally imprinted it into the DNA of my brain. You wouldn't believe how easy it was. Well, if you haven't dipped things before, it might be a little challenging. However, you can get an idea of what we're doing by reading my post about dipping cookies. It's not exactly the same because we are using chocolate and cookie dough, but it'll help you understand. Don't worry, I'll have my usual tips and tricks along the way!
Here's the recipe:
1/2 c. stick butter
1/3 c. brown sugar
1/3 c. white sugar
1 t. vanilla
1/4 t. salt
1 c. flour
1 bag chocolate chips
2 T coconut oil or shortening
Optional: cocoa powder
Muffin liners
- Cream first 3 ingredients until light and fluffy, then add vanilla and salt and stir. Mix flour in until dough lumps together, and add 1/3 cup of chocolate chips.
- Form into teaspoonful sized balls and pop onto ungreased nonstick cookie pans. Pop into freezer for 10-15 minutes.
- While you're waiting, melt the rest of the chocolate chips and oil 30 seconds at a time until there is only a few lumps. Stir until smooth.
- Use a toothpick to dip balls into chocolate, and set into muffin liner using another toothpick to pull off. You can also roll in cocoa powder to get a less sweet version.
- Freeze, refrigerate, or let sit overnight until hardened. The powdered ones only need to be refrigerated.
I didn't think these would come out so good. You know, cookie dough is good, but not always something you'd want to eat a lot of, especially dipped in chocolate.
Oh how I was wrong!


Here's my tutorial for beginners, visuals, and people who love reading step-by-step instructionals:
You'll start by adding sugars and butter. Make sure that butter is soft! As you know, remembering to have softened butter ready, is an almost impossible task when you have a busy life. There are two tricks:
- Pop it in the micro for 10 seconds, and result in half frozen, half melted remains of butter sliding around on the plate.
- The hot glass hack: my sister tried this one out after watching one of those household hack videos. Microwave a heat-safe glass, and once it's hot, set it over the rock hard butter stick. BOOM! Instant baking-perfect butter!

Blast it in the beater 'till it looks like this:

Now you can add the vanilla and salt, nothing complicated about that!

Now you'll blast that in the beater and you'll notice a slight change of color. It won't look like mine did because the light was just different where the Kitchen Aid was caught in action:

Dump one cup of flour in next.
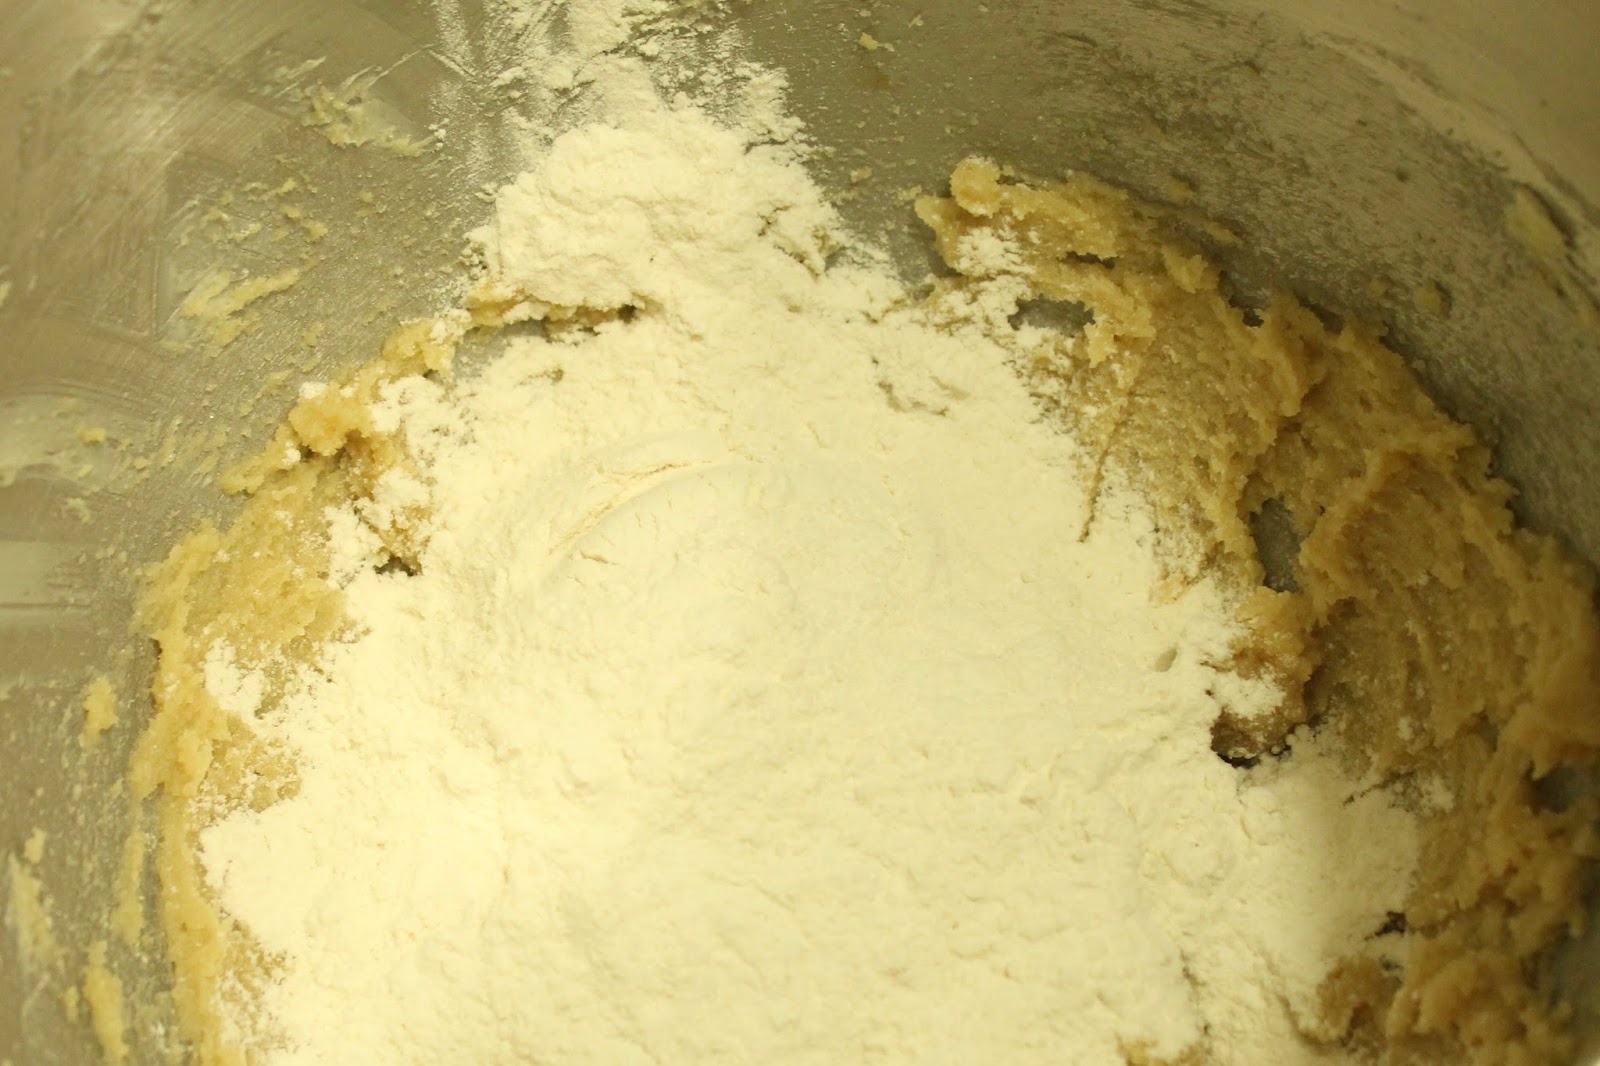
Beautiful! Now, mix again until the texture becomes more pulled together. Don't worry about it being perfectly not-crumbly, because in the end you'll be hand-sticking it together.

Stir the chocolate chips in with a wooden spoon or your mixer will awful grinding noises (maybe that's just ours???) You'll need it later anyway when the chocolate chips all migrate to one side of the bowl.

Every time I look at that picture I literally want to eat it.
You'll need to make tiny ball, roughly smaller than a mini cupcake liner.

Keep doing this, placing them on an un-greased non-stick cookie pan.

I made the mistake of not putting them in the cupcake liners, resulting in me wresting with chocolate covered fingers and the stubborn things wanting to stick together.
So do that please.
And remember to pop them in the freezer for a few minutes. Not to long though, or you'll break the toothpick!
Meanwhile, melt remains of chocolate and 2 heaping tablespoons of shortening, or coconut oil which I prefer, because it's much healthier. Remember to only do it 30 seconds at a time or you'll get burnt chocolate. I never knew what burnt chocolate was until my friend told me. When it starts getting kind of fudgey and weirdly textured, that's burnt. Not the classic nasty smell and hardened gloop.
We really do not want that for what we're using it for.

Use a toothpick to stab the partially frozen dough, and insert it into the melted chocolate gorp. Then set it back into the paper, pushing it off with another toothpick. This method really works with not leaving lumpy, half covered, handled-by-a-three-year-old dough balls.
B was using the paper to grasp the truffle, but this didn't work so good because the sides got all messy. She had good intentions though!


Towards the end when you're running out of chocolate, you'll want to use the spatula and gently pour it over the tops of each one. This works in making it look like they're all covered!
On top of that, you get to "waste not, want not" more chocolate.
Once you really, truly, run out, there is this option:

Rolling in cocoa powder. This tastes way better than you would think, and helps out with the over-sweet factor.
After all this is done, let it sit overnight, refrigerate for a few hours, or freeze until hardened. Store in the fridge when not being obsessively consumed by many individuals.
I noticed my chocolate-dipped ones had little white lines from the cool air:


Enjoy! They will be consumed shortly after finish time.

The guilty ones will be obvious.


Yum! I am also glad that B is getting so much use out of that shirt! Yay!
ReplyDeleteIt was perfect for modeling! It looked really good on her. :)
ReplyDelete